ISSR CLASSES
Checkpoint Science
iGCSE Chemistry
iGCSE Physics
iGCSE Coordinated Science
A-Level Chemistry
PRACTICALS
Practicals Home
Practicals A-Z
Study Plan for Practical Work
The fountain experiment is a fun demonstration which is more commonly seen using ammonia. It works well with hydrogen chloride gas provided the apparatus and gas are thoroughly dried.
Materials (student work):
| Sodium chloride (5 g) | Concentrated sulfuric acid (5 cm3) |
| Concentrated ammonia solution (bottle) | |
| Test tubes | Dropping pipette |
| Side arm test tube & bung | Glass bend & rubber tubing |
| 400 cm3 beaker | Full range indicator paper |
Materials (fountain experiment demonstration):
| Sodium chloride (25 g) | Concentrated sulfuric acid (100 cm3) |
| 1M sodium hydroxide solution (a few drops) | Full range indicator solution (1 cm3) |
| 2-necked Quickfit round-bottomed flask | Dropping funnel |
| Large round-bottomed flask | 10 cm3 syringe |
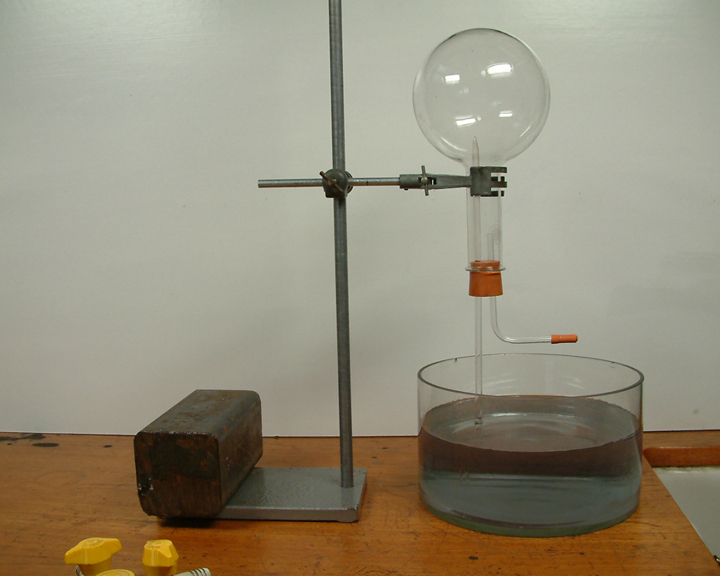
| Glass tube-bung assembly (see photo below) | Dreschel bottle |
| Large trough |
The hydrogen chloride gas is made from the reaction between the solid sodium chloride in the Quickfit flask on addition of some concentrated sulfuric acid added from the dropping funnel. You will have a more successful demonstration if you dry the gas by passing it through a Dreschel bottle containing more concentrated sulfuric acid. The dried gas is collected in the large round-bottomed flask (see below) by downward delivery in a working fume cupboard. Make sure that this flask is perfectly dry. Have the delivery tube go to the very bottom of the flask and check with damp blue litmus at the mouth that the flask has been well-filled before inserting the dry bung and glass tubing arrangement (see below). The glass tubing should be drawn to a point to give a good fountain. Add a few drops of sodium hydroxide solution to the water in the trough and a squirt of full-range indicator to give a good colour change when the water hits the hydrogen chloride gas in the flask.