ISSR CLASSES
Checkpoint Science
iGCSE Chemistry
iGCSE Physics
iGCSE Coordinated Science
A-Level Chemistry
PRACTICALS
Practicals Home
Practicals A-Z
Study Plan for Practical Work
|
|
A standard solution is one whose concentration is accurately known. They are used in titrations in order to measure the unknown concentration of a material. Pre-prepared standard solutions can be purchased from chemical suppliers. |
A primary standard is one which can be made accurately by weighing. It must be made from a chemical of known purity and reliability. Particularly pure chemicals can be bought from chemical suppliers. A well known brand is AnalaR (standing for Analytical Reagent) which comes with details of the maximum allowable impurities. Potassium iodate and potassium hydrogenphthalate are well known primary standards.
A secondary standard cannot be made accurately by weighing alone. We make up a solution of approximate concentration and then measure the exact concentration by titration with a primary standard. Secondary standards include hydrochloric acid, sodium hydroxide and iodine solutions. There are various reasons why a secondary standard cannot be made directly. Hydrochloric acid and iodine are volatile. Whilst, and after, you were weighing them vapour would be escaping into the atmosphere. This means that a smaller mass than that measured is used to make the solution. Sodium hydroxide is hygroscopic - it absorbs moisture from the air, also giving a false weighing. It also reacts with carbon dioxide gas from the air. The primary standard, potassium hydrogenphthalate, is an acid and is used to check secondary standard, sodium hydroxide solutions.
|
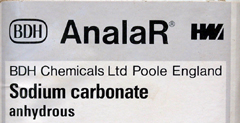
We shall look at making up a standard solution of sodium carbonate as an example. It is important that the starting material is pure and dry. We start with some AnalaR anhydrous sodium carbonate. To ensure that it is thoroughly dry, it is placed in an oven at 110 °C for around an hour and then allowed to cool in a desiccator. |
|
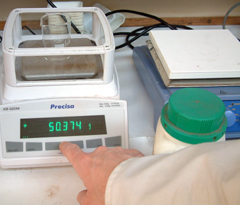
An appropriate mass, in this case around a gram, is weighed directly into a beaker on an accurate top pan balance. Don't use a weighing boat here, or some solid will be lost when it is transferred to a beaker for dissolving.
|
|
|
|
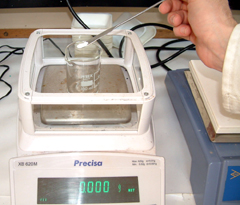
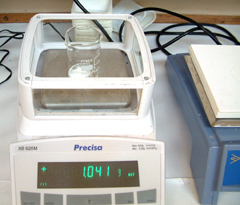
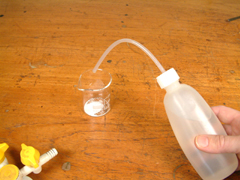
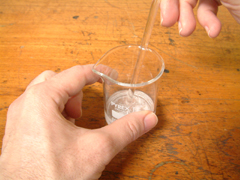
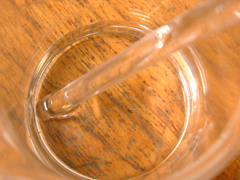
This is then dissolved in a small volume of distilled water. It is important to ensure that all traces of the solid have been completely dissolved using a glass stirring rod. Students often make the mistake of taking the glass rod out of the beaker and placing it on the bench. This is wrong because some of the solution, and therefore the solid it contains, will be transferred to the bench and lost. As a result we would not accurately know the concentration of the solution. Also, impurities on the bench surface may be transferred to the solution if the glass rod is used again. If the solid is particularly reluctant to dissolve the water can be warmed to encourage solution. However, it must be allowed to cool fully before continuing to the next stage.
|
|
|
|
|
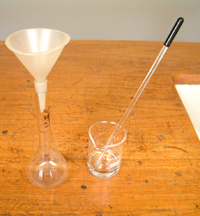
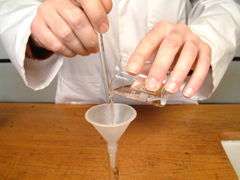
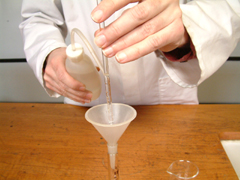
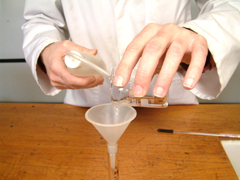
Once the solid is fully dissolved the solution is transferred carefully to a volumetric flask using a funnel. It is safer to use the glass rod to direct the liquid flow from the beaker into the funnel, otherwise it may flow down the outside of the beaker and miss the funnel. The glass rod then needs to be rinsed down into the beaker to remove any traces of solution remaining. This washing liquid is used to wash the sides of the beaker and then poured into the flask. Two more rinsings should ensure that all the last traces of solution are removed from the glass rod and beaker: |
|
|
|
|
|
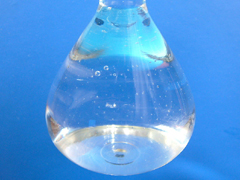
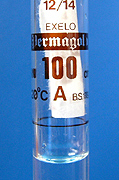
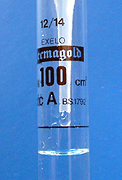
Further distilled water is then added to fill the volumetric flask to around a centimetre short of the graduated line. Make sure that there are no air bubbles on the walls of the flask. If any form they can be removed by tapping the flask or placing it in an ultrasonic bath. Any water on the walls of the section of the flask above the line should be dried with a piece of rolled up filter paper. Make sure that the filter paper does not touch the solution. Water is then carefully added to the flask using a wash bottle or (more easily) a dropping pipette until the bottom of the meniscus just touches the line. Make sure that you get down on a level with the mark to avoid parallax errors. If the water goes past this mark it cannot simply be removed (as some dissolved solid would also be removed). The solution must be thrown away and you must start again!
|
|
|
|
|
|
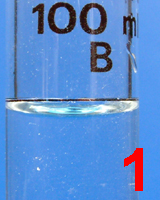
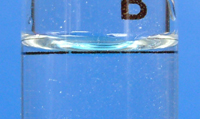
Students often underestimate the accuracy required. The bottom of the meniscus must be exactly on the line. If another drop of water would bring the meniscus closer to the mark, then you will not be given credit. Ask your teacher or lecturer to check your making up to the mark before you shake the flask. After the flask is shaken liquid is likely to cling to the upper section, and so it appears that the solution is just short of the mark. On the left there is a sequence of eight pictures of a volumetric flask filled close to the mark. Each frame differs by at least one drop of liquid. Advance through the sequence and decide which one is correctly made up to the mark. Check your answerhere |
|
|
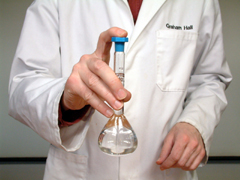
Finally, the flask is firmly stoppered and inverted several times to ensure thorough mixing. A finger over the stopper prevents it from dropping off during this process. |
|
Having made up your standard solution you will need to be able to calculate its concentration.
Weighing errors. Make sure you can use a top pan balance correctly and record your mass accurately at the balance.
|
|
Undissolved solid. There should be no trace of undissolved solid in your solution. If any solid remains, the solution will be less concentrated than intended. |
Spillages. Any spillage will reduce the concentration of the final solution.
|
Incorrect volume. The bottom of the meniscus of the solution must exactly touch the line on the neck of the volumetric flask. Remember, close(ish!) is not good enough. It must be exact. Ask your teacher to check your volume before you shake the flask. |
|
Poor or absent mixing. The flask must be inverted at least six times. The use of a thumb as a stopper is hazardous and contaminates the solution. The use of a loose fitting or unsecured stopper is messy!